Learn how to record guitars on a phone and get a killer tone for your Instagram and TikTok guitar videos
Ever tried to record a guitar cover on your phone only to find that you can’t get the right tone no matter how you set it up? Follow this guide for some of our favourite techniques for recording guitar riffs on your phone and show off your chops to your social media followers..
Why You Probably Shouldn’t Record Guitars with a Phone Microphone..
Whilst it’s usually fine to record throwaway clips using your phone’s built-in microphone - like the sort of video that you might put on your IG story to share riffs or cool tones - there are much better ways to achieve a good guitar sound on a phone video.
Using a built-in phone microphone to record guitars is difficult because you have to find a position that looks good on camera whilst still capturing the sound of your playing. This trade-off means that you’ll often have to sacrifice your tone for the sake of the video or vice-versa.
In addition to that, you’ll also find that when using your phone to record guitars you will pick up a lot more unwanted background noise. Phone microphones tend to be quite sensitive and omni-directional, meaning they’ve been designed to pick up sound coming from all directions.
This means that they’ll often pick up a lot of unwanted external noise - for example, a TV in the next room or traffic going past outside. Plus, if you’re recording yourself playing through a practice amp at low levels it’s also going to pick up a lot of the acoustic string noise from your playing, which isn’t ideal if you’re looking to upgrade the production value of your social posts.
In the video above we’ve recorded each take with a built-in phone mic and with some other techniques so you can hear the difference and decide if you think the extra investment is worth it - keep reading to find out what we recommend as the best way to record guitars on a phone..
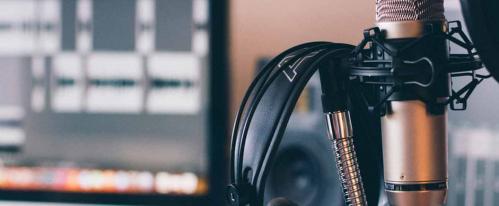
USB Condenser Microphones
A really easy way to instantly upgrade your guitar sound on a phone video is to use a USB Condenser Microphone.
Here are some cool options we’ve picked out:
Our favourite pick though is the Shure Motiv MV88, which is also available to get with the awesome Plus Video Kit - you can check out how it sounds in the video above.
One of the reasons we love it is because it offers the best of both worlds - it’s a stereo condenser mic but it attaches via a cable, meaning that the mic can be moved away from your phone if you do want to position it closer to your sound source without ruining the camera visuals. Further to that, the video kit is even supplied with a quality Manfrotto Mini Tripod Stand, making it a perfect little package for vloggers and self-shooters.
One thing you will notice with any of these mics is a pretty big improvement in the audio quality when compared to the phone microphone, as they all feature larger mic capsules which allow for a greater frequency response and a wider dynamic range. Being condenser mics, they’re pretty sensitive - so they’re great for capturing the subtle intricacies of an acoustic guitar or vocal performance. They also tend to have a cardioid pickup pattern, meaning they pick up most of their sound from what they’re pointed at, so unlike your phone’s built-in mic they should pick up less background noise coming into the back and sides of the microphone.
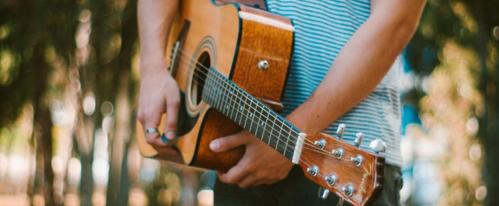
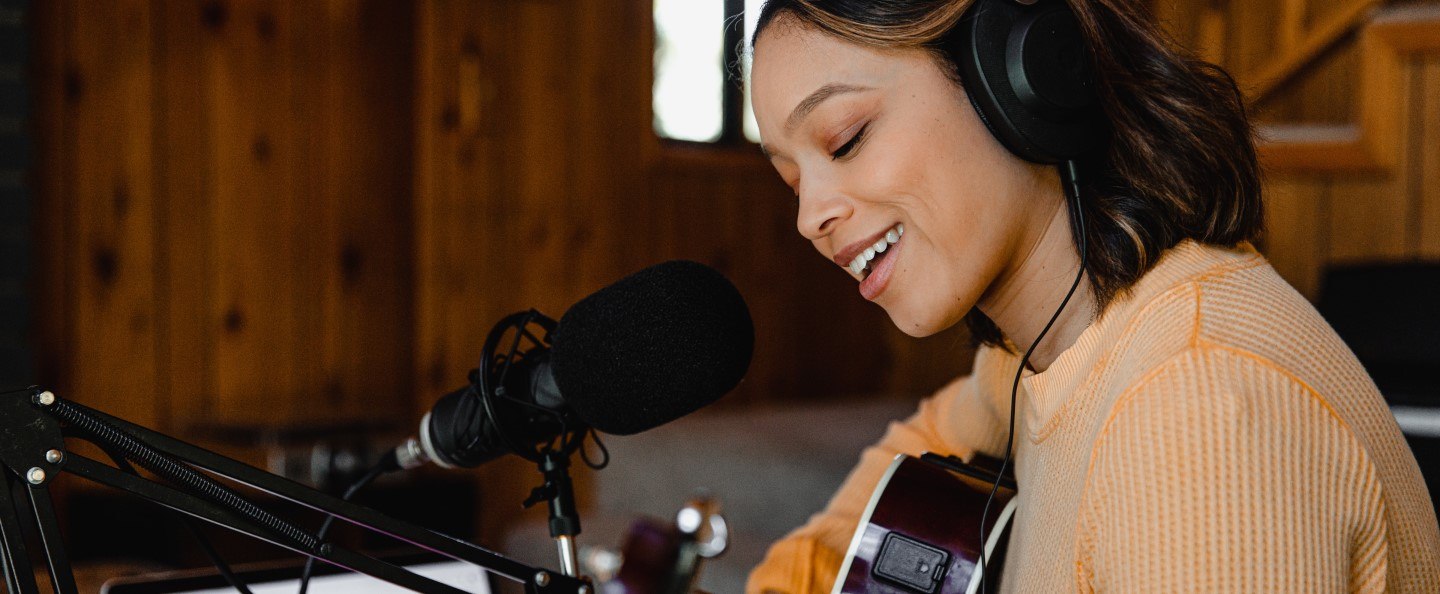
If you want to record yourself singing at the same time as playing an acoustic guitar, then a USB Condenser mic is probably your best bet. You’ll want to position the mic in front of you so that you can capture a nice balance between your voice and the guitar.
If you’re just interested in getting an acoustic sound though, you can move the mic closer towards you. When recording an acoustic guitar you don’t always want to point the mic straight at the guitar’s soundhole, as this tends to result in a pretty bass heavy, boomy sound. Instead, to capture a natural sound, aim the mic at the 12th fret of the guitar, ideally around 30-40 centimetres away, so you get a nice balance of the bass and treble frequencies.
If you’re an electric guitarist playing through an amplifier you might want to do things a little differently in order to avoid capturing the sound from the strings mixed in with the sound from your amplifier.
You’ll get a much truer representation of your amps tone if you position the mic closer to the amplifier, facing away from your guitar, so it’ll pick up less of the strings and more of the speaker.
There is one factor to consider when using a condenser microphone on a guitar amp that could cause you a problem though, and that will depend on the volume that you’re playing at. At low bedroom-levels with a practice amp (like the awesome BOSS Katana Artist used in the video), placing a mic like the Shure MV88 about 30 centimetres from the amp will work well to capture the sound.
If you're using a louder, cranked-up valve amp to get your tone though, you might want to consider using a different type of microphone - which brings us onto our next method of recording a guitar to your phone..
USB Dynamic Microphone
Dynamic Microphones tend to be less sensitive than condensers, with better off-axis sound rejection and the ability to handle much higher sound pressure levels. This is why you’ll often find industry standard mics such as the legendary Shure SM57 used both live and in the recording studio for miking up guitar cabinets, snare drums and brass instruments.
Unfortunately, compared to their condenser alternatives, there isn’t quite as much choice if you are looking for a dynamic mic to connect directly to a phone - but there are still a few gems out there. More often than not these mics are marketed as Podcast Microphones, as a lot of broadcasters tend to prefer the sound of a dynamic mic for speech when compared to a condenser.
But even though a lot of USB Dynamic Mics such as the Shure MV7 (which is used in the video above) have “podcasting microphone” slapped all over the box, they’re much more versatile than that and are equally suitable for other recording applications - including close miking a guitar speaker cabinet.
The Shure MV7 connects to the phone in the same way as the MV88 did, but this time we’re gonna get it right up close to the amplifier's speaker - and thanks to the superior noise rejection capabilities of the dynamic capsule, we shouldn’t hear any unwanted external background noise in the recordings.
You will need a mic stand for this, and you might want to experiment fine-tuning the mic position to find the best tone for your particular amp. As a rule of thumb though, position the mic about 1 to 5 centimetres from the speaker grille, a little off to the side of the centre of the speaker cone and off-axis to the grille surface.
Close miking a speaker in this way usually gives you a tighter sound than when the mic’s placed further away, as you’re not picking up much room ambience, so it’s great for heavier rhythmic playing. If you need more bass, move the mic closer, or move it back if the sound is too boomy.
You’ll usually get a brighter, more mid-heavy sound when the mic is closer to the centre of the cone, or you can move it further to the edge if you need a darker sound. If the tone is a little harsh sounding, try angling the microphone at roughly a 45-degree angle to the speaker cone to smooth-off those frequencies.
Mobile Recording Interface
For this method we’re going to be using a Mobile Recording Interface.
There is a great selection of phone and tablet-friendly interfaces for guitarists to choose from, with some of our favourites including:
Both of these examples allow you to connect a guitar directly to your phone for recording and are an awesome option for recording guitar amps with a phone.
In the video above though, we opted to use a Roland Go:Mixer Pro X. This interface actually allows you to record more than one input at once, which is especially handy if you want to jam along to a backing track. It also doubles up as a little selfie stand for your phone, which is a pretty cool idea and a useful feature to have.
This type of interface has inputs for either guitars, line inputs or microphones, and it even has a phantom power option to accommodate condenser mics. This means that you can connect any type of standard microphone and record using the miking techniques we’ve looked at earlier in this blog.
Using the line input is our favourite way though as it doesn’t require you to do any set-up - you can connect directly to the line output of your amp or multi-FX pedal - it just needs to have a line level output for recording. The BOSS Katana range (as used in the video) has a superb cabinet emulator on the recording output, so you can really nail a range of different tones.
By setting up this way you will still be able to hear what you’re playing from the amplifier in the room, but the phone will be recording the direct line-out signal. You could run into problems with latency, but by connecting headphones to the interface and tracking via that you should be able to fix any problems fairly quickly and easily.
This is a really great way to capture a clear, crisp guitar tone without having to play around with microphones - and with something like the Go:Mixer, you’ve also got options to connect other inputs at the same time. This means you can add an MP3 player for backing tracks, a mic for a singer, and there’s even a stereo keyboard input - so it’s a great little tool for recording jam sessions, for videos, and for live streams where other musicians are involved.
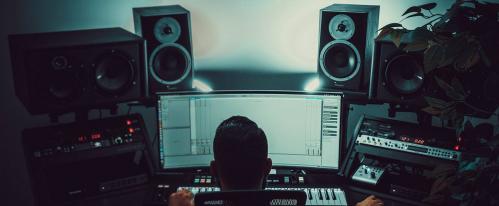
Recording with an Interface & DAW
For the most professional results when recording guitar videos for social media you should filming the video and recording audio to separate devices and then combining them in post-production. This is the method that most Pro YouTubers and guitar influencers will be using.
For the video you can film on pretty much anything you want - be it a phone or standalone camera, as long as the device has a built-in microphone. This is used to record what is known as the scratch audio, which is then used to help sync everything up when we’ve got an actual audio file at the end of the process.
For recording the audio that will be used on the video you’ll need a laptop with some basic recording software (a DAW such as GarageBand, Cubase or Logic etc), a USB audio interface, and some basic video editing software that will allow you to combine the audio and video files once you’ve finished recording everything.
The advantage of recording the audio separately from the video is that you get the chance to add effects and make it sound really good, even putting your tracks through a fully-realised mix and master in post-production. It also means that you can play along to imported backing tracks, overdub parts, and even tighten up any playing or fix any mistakes after recording.
Because we’re using a USB interface we have the option to use mic or line inputs once again - so you can record using any type of microphone or external amp modeller. In the video above we recorded an acoustic guitar using the Shure MV7, which is then overdubbed using an electric guitar connected directly to the interface. Recording in this way means you can choose from the amp sims in Logic (which is the recording software used), and it makes it easier to monitor the recording and playback through a set of headphones connected to the interface.
The actual recording process of the audio is exactly the same as if you were demoing up a multi-track song in a home studio, but because we’re filming video at the same time it’s important to add something like clap or a string rake at the beginning of the video. This is similar to the way that filmmakers use a clapper board, as this gives you a clean spike in the audio and video files which is then used to sync everything together later in the process.
- To get started, hit record on both your camera and your recording software - and don’t forget to put in that clap or string strike before you start playing.
- Once you have recorded your part, you can then overdub any additional parts. If you are making a more complex multi-track recording, make sure to add a sync clap to the scratch audio of each video you record.
- With all your parts completed, you can then mix your audio like you would any home studio recording, adjusting effects, levels, panning or experimenting with amp sims, and then you need to bounce down your final mix to a stereo wav, aiff or high-quality MP3 file.
- The last step is to import that stereo mix and all of your clips from the camera to your video editing software. In the video above we used Final Cut for Mac, but you can still do a basic version of this on something like iMovie. Once you’ve imported all of your files you should easily be able to line-up the audio and video files in the timeline by looking for those sync points you made at the beginning of each file.
- Once the clips are synced you can mute the scratch audio from the video clips, leaving just your stereo audio file. Next, position your visuals on the screen so they look good, trim the start and end points of the video, and add any additional video transitions, titles, or processing. Finally, you should be able to export your finished video to be uploaded to your social channels.
Some of the best audio interface options come from TruMix Audio - check out their full range here.
Tips for Making Social Media Guitar Videos
Regardless of how you choose to record the audio for your guitar videos, there are some tips that you should keep in mind.
- If you are using the built-in mic on your phone, you might want to take it out of any case you’re using as these can sometimes mess with the phasing or muffle the audio.
- When filming things for social media, bear in mind the preferred aspect ratio of the platform that you’re going to be uploading your videos to - so for YouTube and Facebook you’ll want to film in landscape mode, and for Instagram or TikTok you should flip it to portrait.
- It’s worth getting yourself a little tripod or phone holder instead of just balancing or leaning your phone on something - and if you haven’t got one to hand, a little hack for guitarists is to use a capo which can double up as a handy phone stand.
- Give some thought to your visuals when filming. Pick a nice backdrop or film in a cool environment - no one really wants to see a messy bedroom with your dirty pants on the floor!
- Try to position yourself so you fill as much of the screen as possible.
- To get the most out of your phone camera, you’ll also need to think a little bit about lighting. Try to avoid any strong light sources coming from behind you as this can really mess with the auto-exposure on most cameras, and keep in mind that a lot of camera phones don’t perform particularly well in low-light environments. Natural light from a window in front of you always looks great, but if you are filming in a darker room you can pick up an LED ring light for a very low price nowadays which should help give you a better look.
Still not sure how to record guitars with your phone? Need some extra help with making guitar videos for social media? Call us on 0151 448 2089 or check out your local store to speak to one of our Experts about your needs.