Find out how to set up a PA system and get the best sound at live events for bands and DJs with our full guide and video tutorial on PA set up
There are a wide variety of PA types and configurations that you might have come across at different events. Solo performers and small ensembles might be most familiar with Portable PA Systems or smaller line array arrangements which you’d find in a bar or café, whereas larger events and festivals will host multi-amp and multi-speaker configurations with separate mixers for front-of-house (FOH) sound and stage monitors.
In this beginner's guide to PA set up, we’ll be looking at one of the most common types of PA setup used by singers, bands and DJs, and that comprises a pair of powered or active speakers, a mixer, microphones, and a foldback monitor.
We’re going to be showing how to connect it all up, the types of cables that you’re going to need, and we’ll also be giving you a basic overview of what all those little knobs on the mixer do.
Check out this video for easy-to-follow instructions, or keep reading for an in-depth look and step-by-step PA set up guide!
Firstly then, let’s look at the gear that we’re using for the examples today.
We’ve got a pair of speakers for the front-of-house sound - that’s what your audience will be hearing - and a pair of slightly smaller speakers, which we’ll be using as a foldback monitors. This is so the singer or musicians in your band can hear what’s happening on-stage. This isn’t essential, but if you’re a DJ or a band needing a little more bass end, we’re also going to add a subwoofer.
For this guide and in the video above we use active PA speakers, meaning they all have internal amplifiers. This makes setting up the system much simpler, and there’s less gear to carry around compared to a system that uses separate speakers and amplifiers.
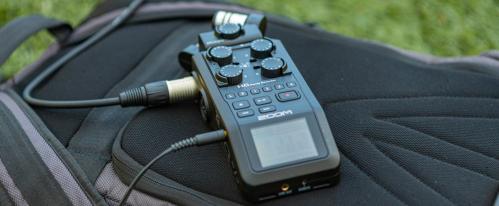
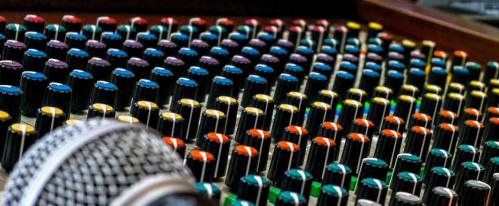
The mixer we’re going to be looking at is a medium-sized 16 channel mixer, but everything that we’re going to be talking about here will easily be transferable to a larger or smaller mixing desk, depending on the number of inputs you need.
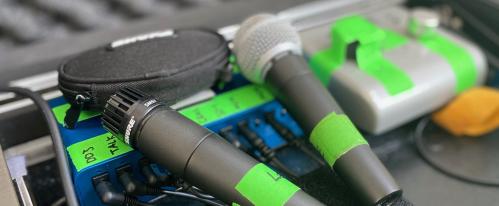
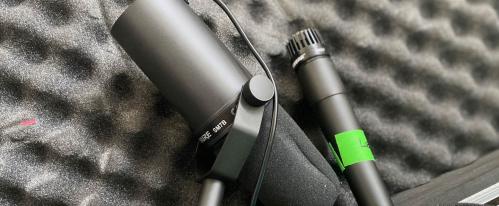
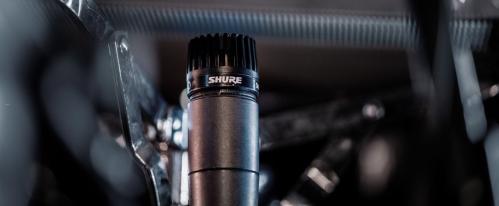
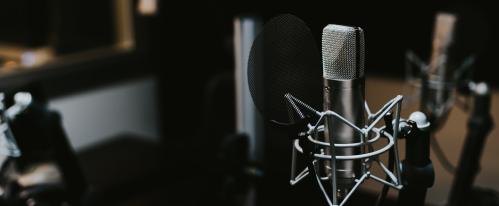
For live sound, you’re mainly going to be using dynamic microphones. These are tougher and less prone to feedback than fragile studio condenser mics, so something like the industry-standard Shure SM58.
How to Position a PA System
Step one of setting up a PA system is deciding where to position everything, and this will depend on your venue and the type of performance.
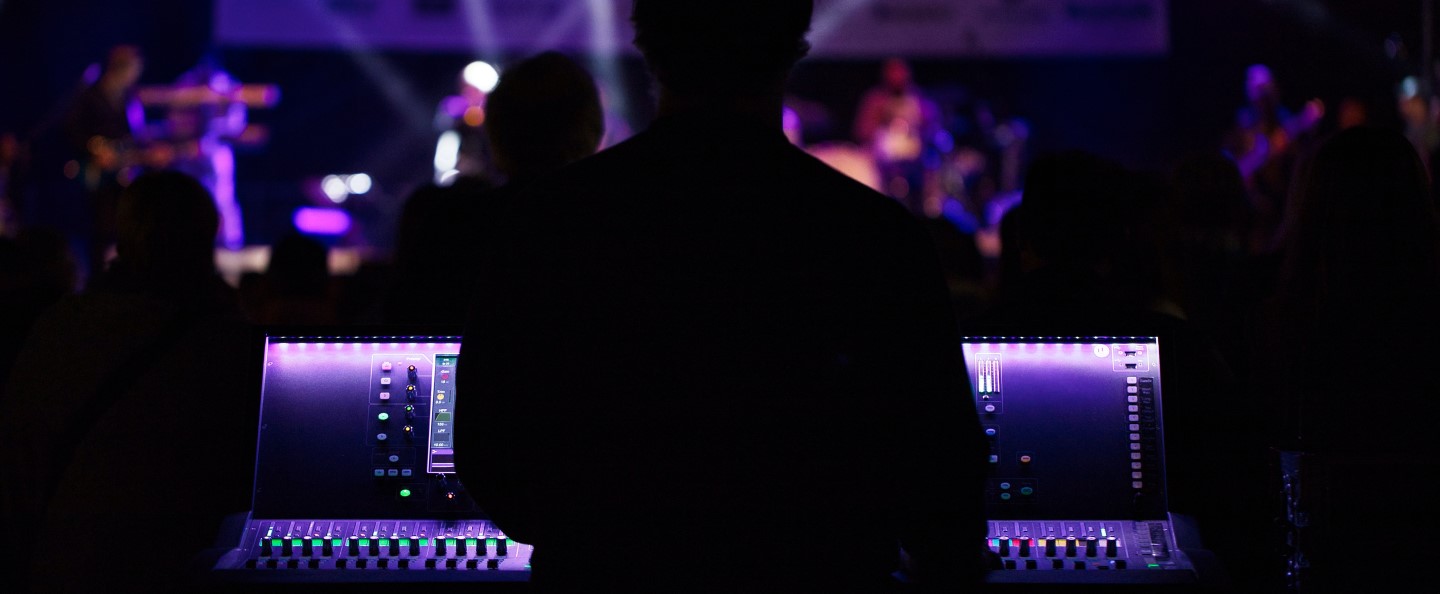
Looking at a band first, and in a perfect world you would position your mixing desk at the back of the room with a separate sound engineer who can hear what the audience is hearing, adjusting levels on the go.
The drawback here is that it means you need someone separate from the band to operate the mixer, and you’ll also need a way to run all those cables to the back of the room, usually via a long multi-core or snake cable. These can be quite bulky and heavy, in addition to the additional cost to your setup.
In smaller venues though, the most common thing to do is to position your mixer at the side of the stage, meaning that you can elect a member of the band to be in charge of adjusting levels, and all of your mics can then connect to the mixer using standard length cables.
Microphone positioning will depend on how your band is set up on stage, but it is worth bearing in mind the type of mic stands that you’re using.
Singing guitarists, drummers or keyboard players will probably want to use a boom stand to allow for more positioning options, whilst singers and brass players are probably best off with a simple straight stand, which takes up less room and looks a little neater on stage.
And if you’re miking-up drum kits and guitar amps, short boom stands or mic clamps are probably your best option as they allow you to get microphones into tighter spaces.
The most important thing however is where you position your speakers. Ideally, you’ll want a nice wide spread, with a speaker either side of the stage. This allows for an even coverage of the room and for stereo instruments such as keyboards to sound their best.
The speakers must be positioned further forward than any of your microphones, facing out into the venue.
If you position your speakers at the back of the stage behind the microphones, you’re much more likely to encounter problems with feedback, which is where the sound from the speakers is picked up by the microphones causing an infinite feedback loop, resulting in a horrible ear piercing whistling.
You’ll also probably want to position your speakers on speaker stands, raised to around about or maybe slightly higher than head height. If you place your speakers on the floor at a lower level, the sound waves will get blocked as it hits your audience, resulting in a quieter, more muffled sound for anyone at the back of the venue.
Just remember to always install the safety pins on speaker stands to avoid any accidents caused by the stands collapsing under the weight of the speakers.
If you’re integrating a subwoofer into your PA system, this can be be placed pretty much anywhere around your stage area. The very low bass frequencies that they produce are much less likely to cause feedback from microphones, and in terms of a stereo image, it’s really difficult to hear where the bass end is coming from when you’re in a venue.
For the sake of convenience and aesthetics though, the most common thing is to have a pair of subwoofers sitting on the floor directly below your main speakers, which also means that instead of using tripod speaker stands, you can just use speaker poles which mount directly into the subwoofers to lift your main speakers up into the air.
Finally, we need to position our fold back monitor speakers, which are what allow you to hear the music back more accurately when you’re performing on stage.
Monitor speakers (sometimes called wedge monitors) are usually placed on the floor and angled upwards facing the opposite direction to your main speakers, and most active PA speakers nowadays are designed to be multi-purpose. This means they can either be mounted on stands for use as front-of-house speakers or laid on their sides as wedge monitors.
You can use as many monitors as you want on stage, but if your space and budget is limited, just one or two will usually suffice - one for your lead singer and one for the drummer. Without monitor speakers, especially at higher volumes in larger rooms, it can be really difficult to hear if you’re singing in tune or keeping time, as the sound from your front-of-house speakers bounces off the back wall of a venue.
So that’s the basics of positioning your PA system for a band set up, but if you’re a DJ or setting up a system for a conference or other any event, your set up is likely to be much simpler.
You’re still going to want to spread your speakers evenly apart, set further forward than any mics that you might be using, but you’re probably going to be using less inputs. There’s also less need for fold back monitors, so you just need to position your speakers either side of your DJ console or lectern.
Connecting Up a PA System
The next step is to connect all of these components up. Firstly, you’re going to need to power all of your speakers. These types of active speakers have an internal amplifier meaning each will requires mains power, so make sure you’ve got enough long kettle lead type IEC cables and a few extension cables.
For safety, always avoid chaining together things like 4-way power splitters. These can overheat if too many speakers or amps are plugged in at the same time.
After you’ve run your power to the mixer and speakers, you need to connect the audio outputs of the mixer to the inputs of the speakers.
Now most mixers and active speakers will give you the choice of using either 1/4” jack connectors - so that’s a standard guitar cable - or balanced XLR cables, which are the same cables we’ll be using for the microphones.
Wherever possible, we’d recommend using XLR cables, as these offer a stronger signal with less noise over longer distances, as well as a sturdier, more reliable connection.
XLR cables can also be easily joined together if you need to extend them.
For your main front-of-house speakers, find the master or main outputs on your mixer. There should be two - one for the Left speaker and one for the Right - and these will be what’s known as a male XLR connector.
On a standard XLR cable, the connector on one end will be male, and the other end will be female.
The male connector is the one with the 3 little poles, and the female is the one with the 3 holes.
You’ll need 2 long XLR cables, with the female connectors plugging into the male output sockets on the mixer, running the left output to your speaker on the left hand side of the stage, and the right output to the right hand speaker.
The male XLR connectors on the cables then connect to the female connectors inputs on the speakers, making sure that everything clicks and locks into place for a firm connection. If your speakers give you the option, make sure that the input is set to Line level, not mic level, which is designed instead for connecting a mic directly to the speaker without the use of a mixer.
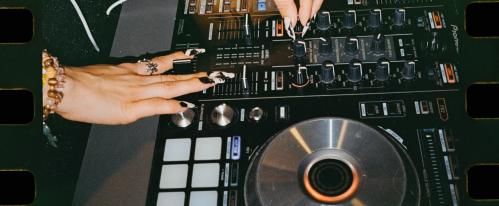
You may find if you’re using a DJ mixer or controller that you don’t actually have XLR outputs available, but RCA phone style connectors instead. The principle is still the same though – there will be a master stereo output, and you’ll just need to use a phono to jack style cable to connect to your speakers.
If you’re using a subwoofer, or subwoofers, things will be slightly more complicated. You’ll need to connect your main mixer output to the input on the sub, and then take another shorter XLR cable to link the output from the sub into the input of your main speaker, and there will be a couple of ways of doing this depending on whether you’re using one or two subs.
As most subwoofers offer a built in crossover feature, this means that they will split the sonic frequency spectrum, so that the lower bass frequencies will be pushed out through the subwoofer and the mid-range and high frequencies will be sent to your main speakers, resulting in a much more defined sound with less risk of distortion caused by the bass end blasting through the smaller speakers.
Some subs will offer options for different crossover points, meaning only the frequencies above these thresholds this will be sent to the main speakers, leaving the subwoofers to handle the thumping bass frequencies.
Now that we’ve connected up our main speakers, we need to connect the wedge monitors. Most commonly, you’ll want to use something known as an auxiliary output for your wedge monitors. This may be tabled as either a monitor or a send output, depending on the mixer that you’re using.
The number of sends doesn’t actually limit the amount of monitors you can use though - if you’ve only got one send, multiple monitor speakers can be daisy-chained together using XLR cables. This does mean however that all of the monitors will be sent the same mix.
Separate monitor or auxiliary outputs allow you to send a different mix to individual monitors.
For example, your lead singer will probably want lots of their vocals in their monitor at the front, but less of everything else, whilst a drummer will probably want to be able to hear more of the guitar and bass.
In terms of connections, active wedge monitors connect much in the same way as your front-of-house speakers, using either XLR cables or 1/4” jack instrument cables, which connect from the auxiliary outputs into the line inputs on the speakers.
The final thing we need to connect up now is all the mics and instruments. On a DJ mixer, this is very simple, as most of the inputs will use twin stereo RCA connectors for turntables and laptops. On a mixing desk for a band, you’ll usually be using balanced XLR cables for any microphones - that’s the same type we used earlier to connect the speakers - and 1/4” jack cables for line inputs such as keyboards or acoustic guitars.
XLR mic cables are available in different lengths up to around 50 feet, but instrument cables are usually limited to lengths of around 20 feet. If you do need to extend these whilst ensuring a strong, noise-free connection, you may want to use something known as a DI box, which converts your signal from an unbalanced jack to a balanced XLR cable.
Connecting to the mixer is pretty straightforward - mics connect to the balanced inputs and line inputs go into the 1/4” jack or RCA phono sockets.
Make sure to label up your channels as you go so you remember what’s plugged into each channel!
How to Use a PA Mixing Desk
So now we’re all connected, let’s take a look at the final stage of setting up a PA which is how to adjust the settings on a mixing desk.
Mixers come in all shapes and sizes, but don’t let all those little knobs and faders intimidate you. They all work in a very similar way and are actually pretty simple to understand if you break them down into individual channels.
Each input channel on a mixer will have an input gain knob and a channel volume control, which will either be a knob or a fader. The input gain adjusts the sensitivity of an input, so for example a dynamic mic will probably require more gain than a hotter line level signal, whilst the channel volume control is what’s used to actually balance the volume of each of the inputs in the final mix that will be sent to the speakers.
The important thing is not to overload the inputs which can cause unwanted distortion and increase the likelihood of feedback. Luckily though, most mixers will feature a channel clipping or peak indicator LED, so to set the optimum input gain for a mic or instrument channel, firstly turn your master volume control down low - you don’t want any nasty loud surprises when you start adjusting levels - and then turn the volume level control for the channel you’re setting up to 0db.
Next, whilst singing into the mic or playing the instrument connected to that particular channel, turn the input gain up until the peak light starts to flash slightly, and then just back it off slightly. So ideally, we’re looking for a nice strong signal, but without that peak light illuminating.
With your input gain set, you can then just use the channels volume fader to balance the output against the other inputs and we can move on to the other channel controls.
Each channel on a mixer will usually feature some sort of EQ, with the main parameters being Bass, Middle, and Treble. These allow you to shape the tone of an input, working the same way as an EQ on a hi-fi or guitar amp. The EQ will help a mic or instrument cut through a mix, and you’ll also find a pan control, which allows to position an input channel more to either the left or right hand side of a stereo mix.
In a live environment, you’re probably going to want most of your mono microphone inputs panned centrally.
This means that they are not louder in one speaker than they will be in the other - unless of course this is something you specifically want to do.
Most mixers nowadays also feature built-in effects such as reverbs and delays. You choose the type of effect you want to use in the master effects section.
A reverb of some sort usually works well on vocals, and then on each channel, you’ll find an FX send knob which adjusts how much of that reverb is applied to that particular input.
For example, you might want a lot of reverb effect on a vocal, but none on the keyboard or guitar players channels.
Finally, there’s the monitor or auxiliary sends that we talked about a moment ago, and these allow you to adjust how much of that channel is sent to an individual monitor mix.
Let’s say we’re using two monitor speakers. One is connected to auxiliary output one, positioned at the front of the stage for our lead singer, and the second is connected to auxiliary send two, positioned at the back of the stage by the drummer.
The auxiliary send knobs one and two on each of the channels will then allow you to balance how much of a particular input is sent out to each monitor speaker, allowing the singer and drummer to hear completely different mixes in their individual monitor speakers.
Aside from the input channel knobs, most mixers will also feature output controls, with overall level knobs for the effects and auxiliary monitor sends - and most importantly, a master stereo output, which controls the volume being sent to your front of house speakers.
Now that everything is connected up and we have an overview of the basic controls to get you started on a mixing desk, the last thing to do now is power everything up so you can start your soundcheck.
Before you do start a soundcheck always make sure your master volume controls on both the mixer and speakers are turned down. This ensures you don’t get any loud pops, bangs or feedback when you turn everything on.
It’s usually worth starting with the volume controls on the speakers themselves turned down pretty low, so you can set all your levels on the mixer first, and then once you’re happy you’re not overloading any inputs or outputs - indicated by flashing red lights on the level meters - you can then turn up the volumes on the speakers to gig levels.
And that’s pretty much it - a basic guide to setting up a PA! We’ve tried to keep things as simple as possible for beginners, but if you are still a little bit confused about anything then you’ll be able to get the help you need at PMT.
Visit your local PMT Store or call us on 0151 448 2089 to speak to one of our Experts about your needs, and find the latest PA gear online now – including a huge selection of pre-owned and more!